This blog is to show the development of my model railway of Pemberton along with historical research of the railway and timber tramway lines.

Wednesday, 21 October 2015

Pemberton Yard Proposed Layout Plan

Below is a screen shot of the general plan i am following at present for the Pemberton Yard. Each rectangle represents a separate module, with the red rectangle representing the module currently being worked on. The original sketches had planned to capture most of the yard on the top three modules, however after examining what this mean for minimum radius it was soon realized this wouldn't be achievable if i was to keep the centre section to scale. This had had a role on effecton the rest of the layout, which left me wondering how I would achieve the key components I had panned which include part of the Pemberton Mill, two bridges on the mainline, a timber tramway line and a fiddle yard.
With my move to Perth I know have even less room which may yet see me alter my plans to work on sections at a time to create a larger exhibition layout. In the mean time my focus continues on the centre section of the Pemberton yard which has been laid out to scale and now has all four yard tracks laid with only the small section of the shunt remaining.

Planned Layout for original room

1942 Map of the NE side of the Pemberton Yard

Saturday, 12 September 2015

Trackwork recommences on Pemberton Yard

After finding out my position had been abolished I was faced with a move to Perth and the loss of a dedicated train room. Understandably disappointed, it seemed my Pemberton layout would be facing storage for some time. However having no where for my rolling stock to sit I decided i could find room for the centre section of the Pemberton yard.
After retrieving it from storage today i set up on a temporary table as the middle section had no legs being supported by the two sections eitherside and set about laying the first rails.
I have delayed laying rails for some time as i was unsure as to whether i would glue or spike or a combination. I had been leaning towards spiking, but my initial trials with hand spiking had been less than satisfactory. I debated obtaining a kadee spiker, but the price of obtaining a new one, the rare appearance of second hand ones online and the lack of information on whether it would be worth it caused further delay. (If you do have one or experience with one please get in contact.). Anyhow decided it had waited long enough and with only spikes and a pair of pliers available i decided to give hand spiking another try and with some patience i managed a safisfactory result and the first rails where finally laid.
How i went about it
I had previously laid the sleepers based on measurements I took on variety of sleeper spacings in the Manjimup yard. And have made a variety of spacers to help guide me while laying sleepers. Whilst I originally planned to lay down cork first, for ease as i wanted the top of the sleepers be flush with the surface i had created a trench and glued them directly onto mdf.
I used several brass rail gauges i brought from DCC Concepts to set the gauge during the operation. They fit snuggly on the rail and their weight helped hold it in place.
With the sleepers laid directly onto mdf, it made it difficult to push the spikes in and i ended up with my share of bent ones, so i did just enough to pin the track. I then went back and predrilled the rest which whilst tedious, made spiking easier.
I should mention i had brought some spiking pliers from an australian hobby firm but i dont recommend them and wish i had got the micro mark ones. Im sure they would be fine with a large spike but were too sloppy for the small ones.
The spikes i used were the small ones from micromark but they had a very large head. I found that if I cut the head off (yes thats right i cut the head off each individual spike) leaving just a small lip, they looked more realistic.
For the time being I have settled for spiking every 4th sleeper.

Tuesday, 12 August 2014

Ballasting begins

Ballasting has been delayed by waiting for some special sieves to arrive and they finally turned up yesterday so the next stage began. The plan is to try ballasting the first road before spiking the rail down.

It began with collecting some gravel and sing it to make it easier to sieve,  where it was passed through a 3mm screen and then a 0.5mm screen before putting it to use. 

Monday, 21 July 2014

Pemberton Mill

Through a joint project of attempting to digitally map the many rail and tramway lines which once serviced the south west along with deciding to base a model railway on Pemberton and a desire to capture aspects of the connecting mill, has lead me to researching the past layout of the Pemberton mills and I have found it surprising how the mill, its buildings and railway line appear to have changed between the pre 1950 map, the 1951 photo and the 1962 photo.

Pemberton Mill Maps and Photos

Pemberton Mill prior to 1950
Pemberton Mill and Surrounds in 1951
Pemberton Mill and Surrounds in 1962
Pemberton Mill and Surrounds in 2005
Pemberton Mill and Surrounds in 2007


Saturday, 19 July 2014

Laying of the first tracks of the Pemberton Yard

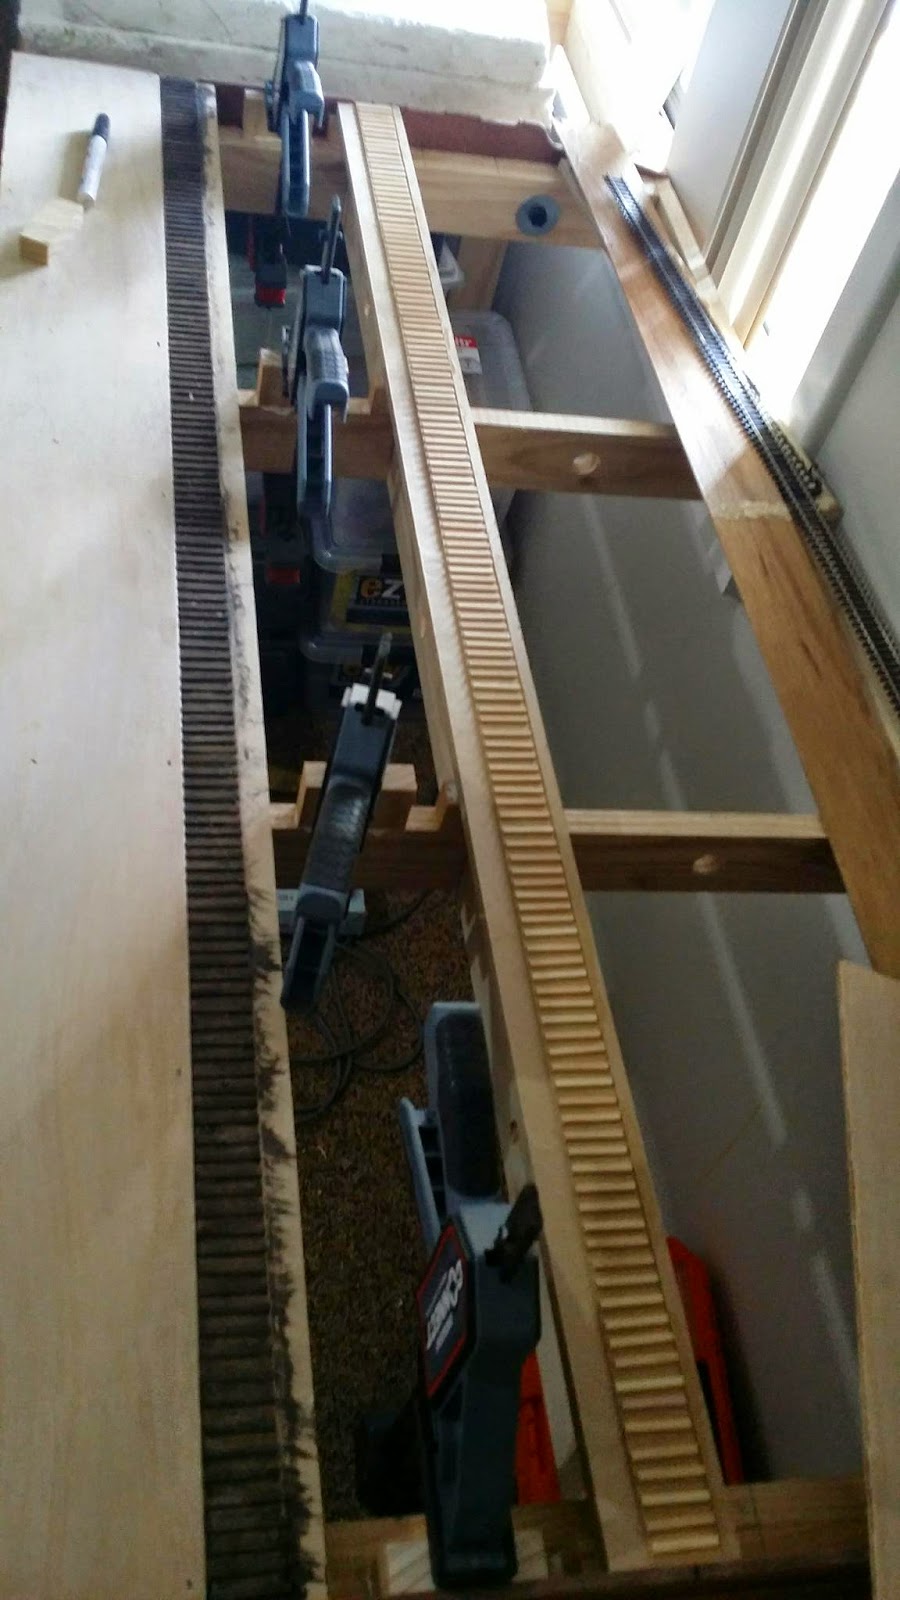
Track laying begins within the center section of the Pemberton Yard which will include the Pemberton station and goods shed.  My plan is to continue with hand laid track at least for as long as my patience lasts.


Developing a locating system for the table frames

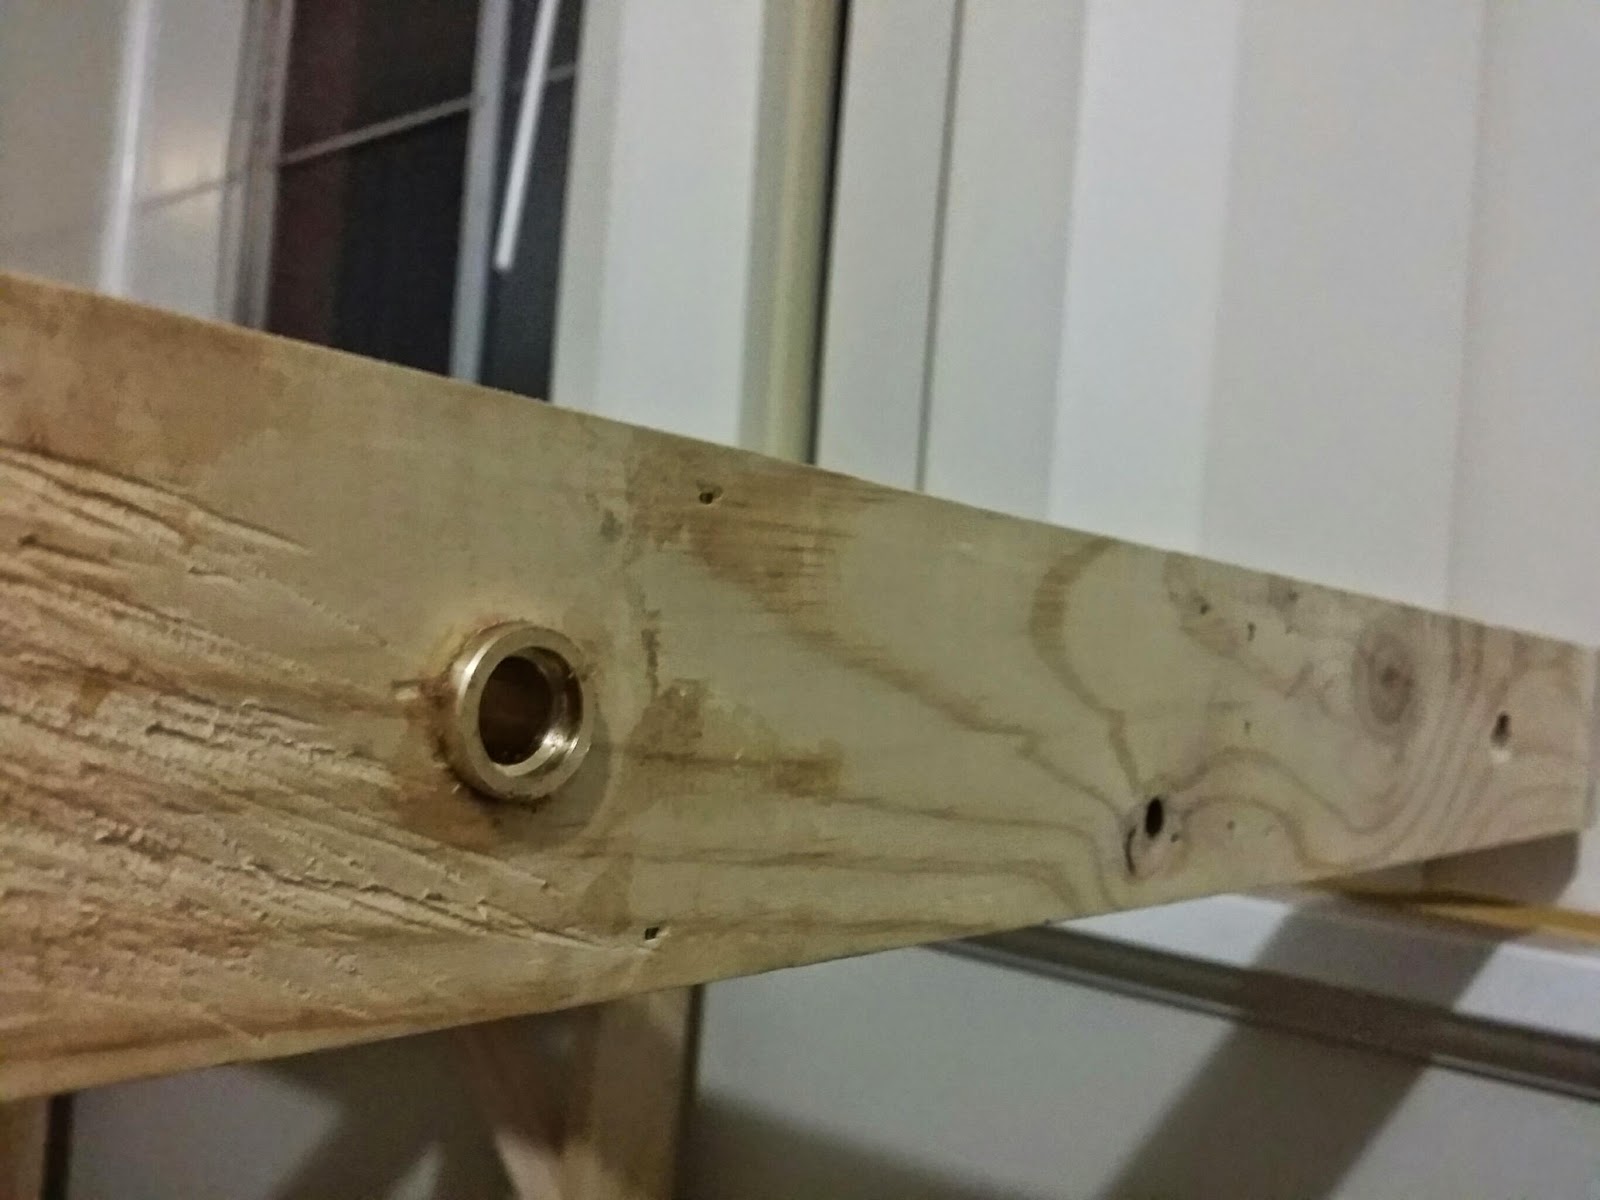
In planning my layout i wanted it to be portable as I am renting and also would like to display it one day and with this in mine i have designed it in transportable sections and to ensure these match and maintain strength i wanted to develop a locating mechanism which achieved both. My final design was based on having a bolt of at least 10mm which would fit tightly within brass collars that would inter lock and align and form a strong and rigid join reducing the need for legs on center sections of the layout. With a design in mind the next challenge was to source the brass to do the job which was a little difficult in Manjimup but thanks to some help, my dad sourced some from Perth and i put the lathe to work to turn up the first prototypes, with the final product providing a pleasing result.